The SiRO Exhibit Builder is an authoring tool that allows users to remix online content into essays, annotated bibliographies and other formats. You can use it to workshop papers and exchange ideas with your peers, or share it publicly under a Creative Commons License. All you need to begin is a free account in My SiRO, with which you can collect and tag items of interest from your search results. You can manage these resources using your My SiRO page, along with saved searches, group membership, discussions, and classrooms.
How to Create an Exhibit in SiRO
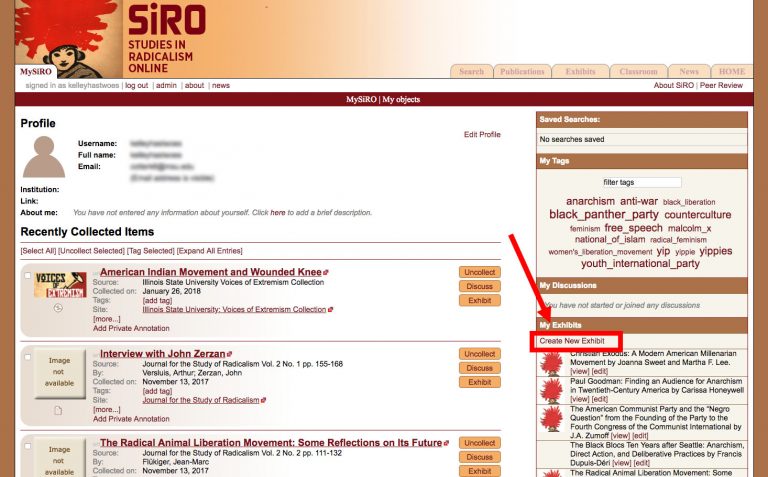
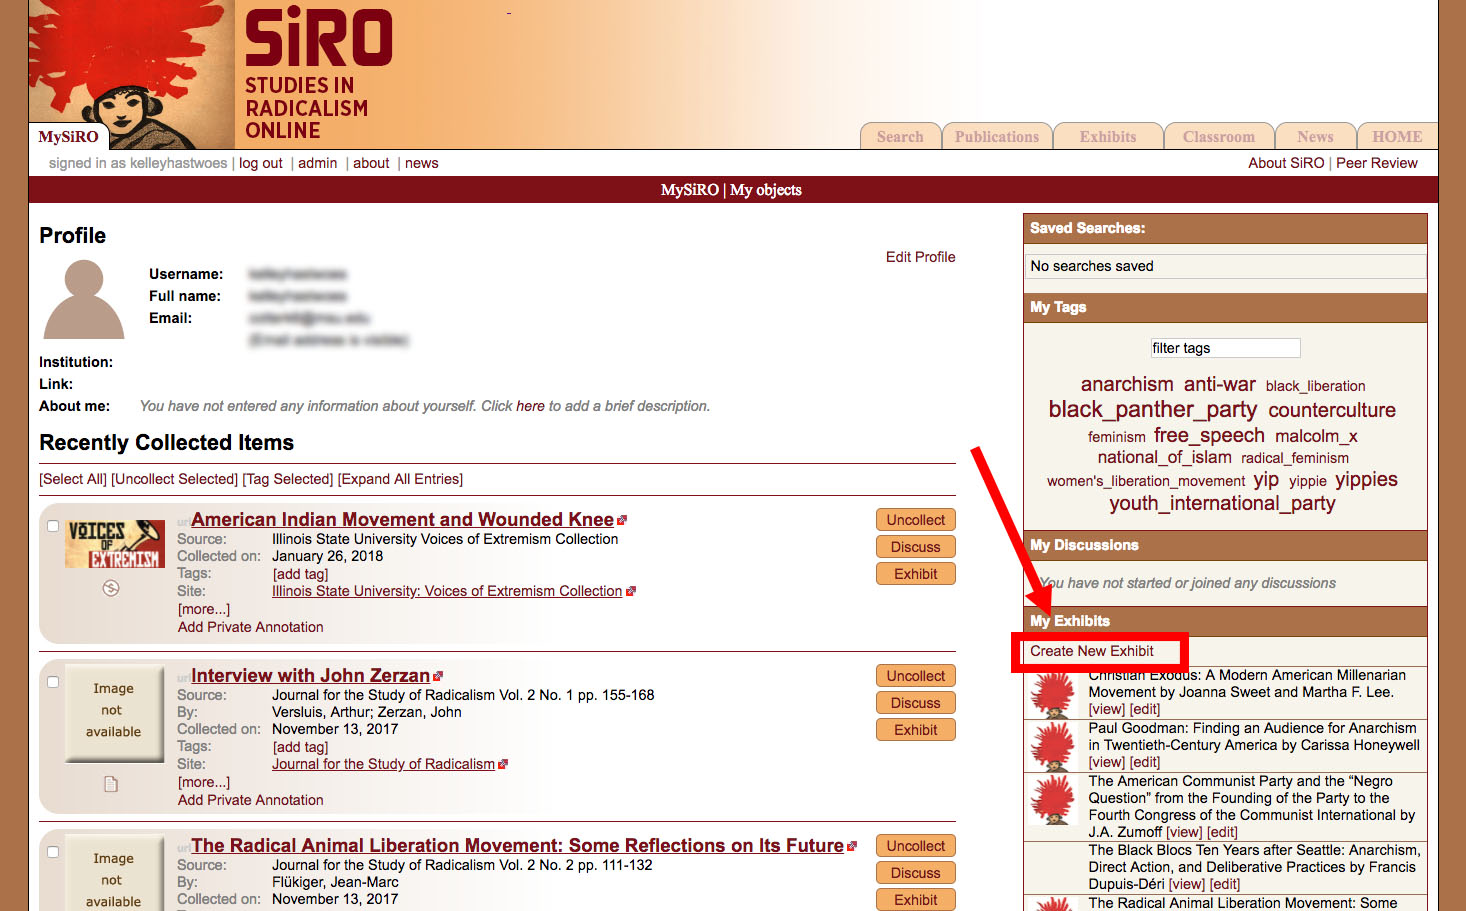
- At the lower right of your My SiRO page, there is a section for Exhibits, with a link to Create A New Exhibit. This link will open up the SiRO Exhibit Wizard, which will guide you through the basics: creating a title, adding objects (i.e. materials indexed in SiRO) to cite, setting a custom URL, and even a thumbnail image.
- SiRO objects work like bookmarks for peer-reviewed and primary resources within the site. Once your exhibit is set up, you will be able to link to documents outside of SiRO as well, using the ‘External Link’ option.
- Once you have completed the Exhibit Wizard, an empty template will appear on your screen. If you chose to upload your .docx file at the beginning of the process, then your content will be ready and waiting for you. It may need some extra formatting to fit the new template, so be sure to check all pages, links and footnotes.
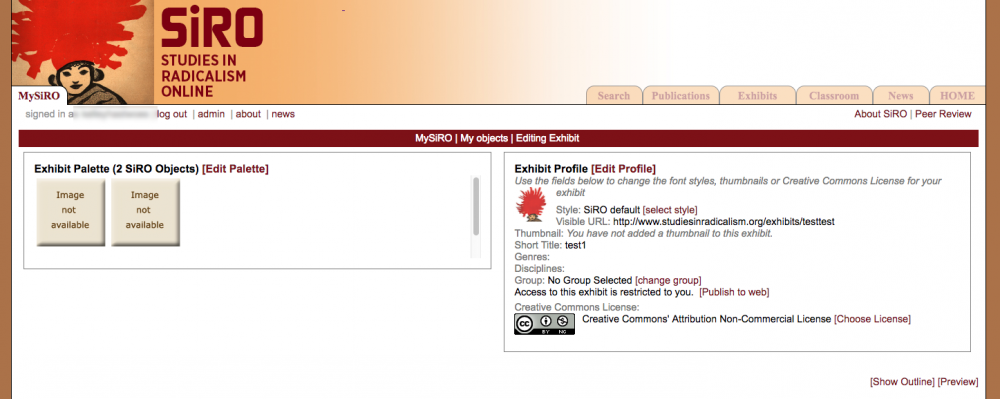
- At the upper left of your screen is your Exhibit Palette, with icons representing the SiRO objects you’ve already associated with this exhibit. At the upper right is the Exhibit Profile, where you can edit the title, the CC License, the URL and thumbnail image. If you decide you want to share your work with a group, you can do that from the Exhibit Profile, as well. If you request to join the “Peer Reviewed Exhibits” group, you can submit your exhibit for review to be published on SiRO’s Exhibits page.

How to Add Material to Your Exhibit
- Every exhibit template offers 2 pages, with three sections on the first page. You can make a full exhibit with just one section if you like, or experiment with other options for showing pictures or linking to objects. If you’d like to delete a section from this page, simply click the red “X” at the upper right.
- The main portion of the screen is divided into sections. When you mouse over these sections, they are highlighted gray, and clicking on one of them (where the placeholder text appears) will bring up a rich text editor for adding text.
- There are different kind of sections offered: text only, text with illustration, blockquotes and headers. These are the basic elements for styling your work in SiRO.
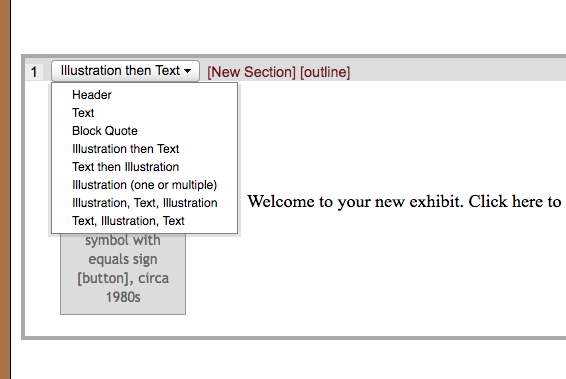
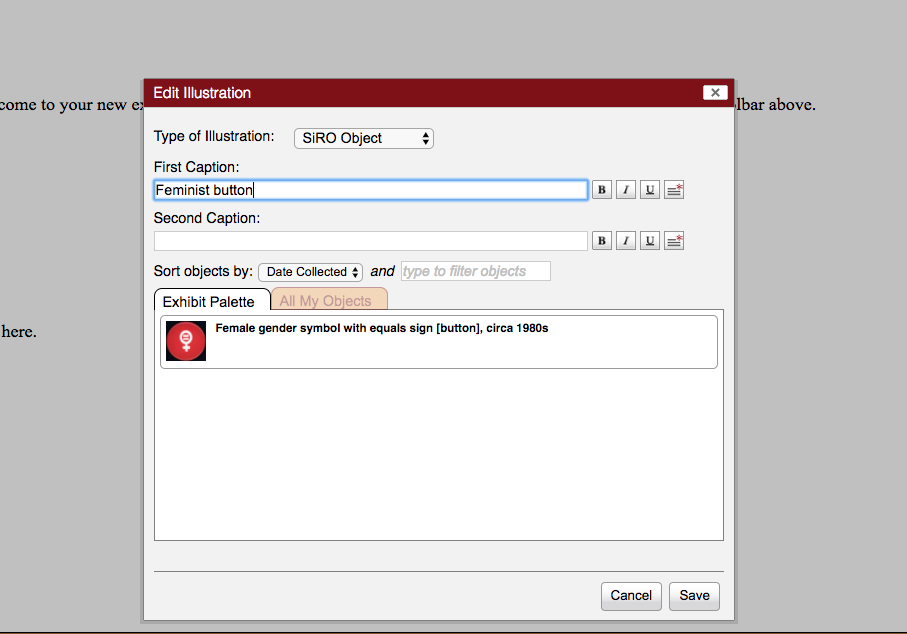
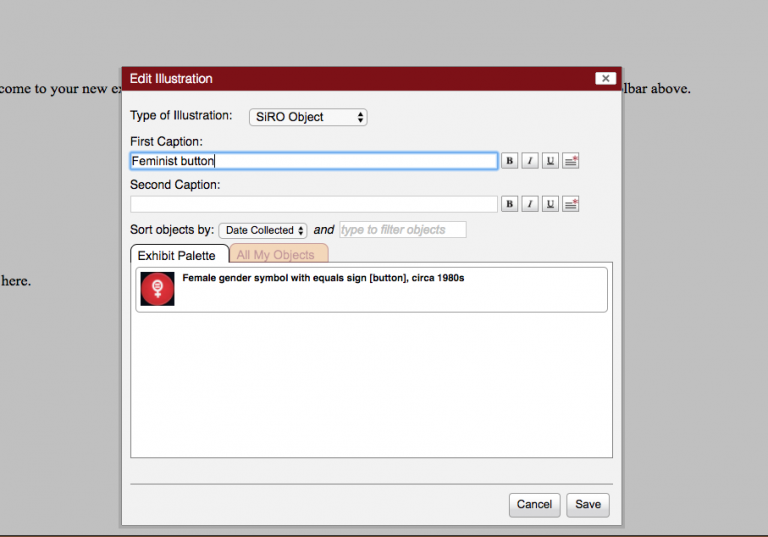
- To add an object from SiRO to a section, you must select a section type that includes an “Illustration.” Then, click the SiRO logo to add your object. You can change the caption for the object or leave it as is. If you leave the caption as is, the caption will default to the title of the object. When you’re finished, click save.
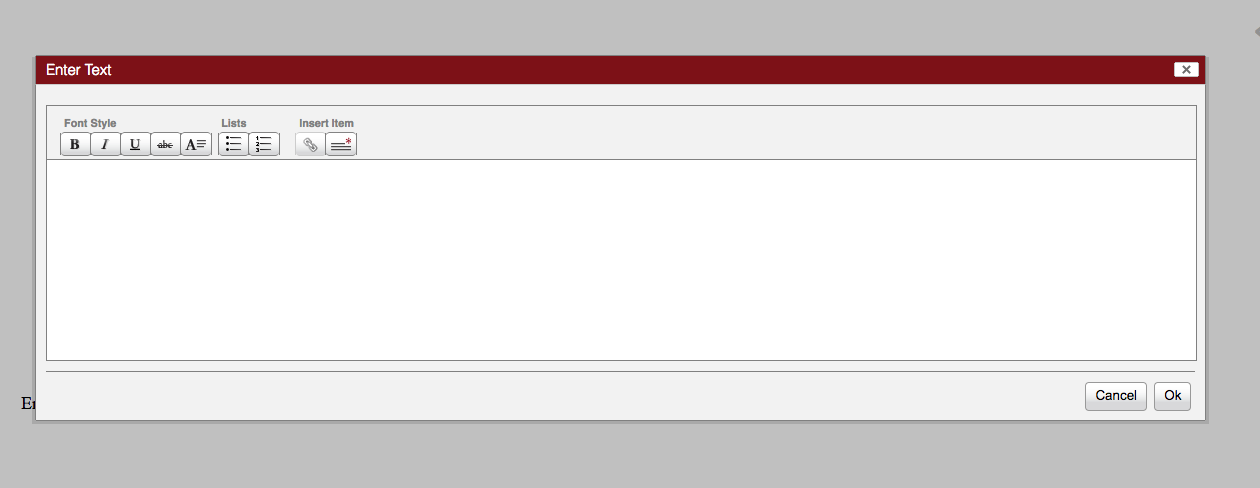
- To add a footnote, highlight the text about which you wish to add a footnote. Click the button in with lines and an asterisk.

- In the text box that pops up, enter your citation and click Ok.